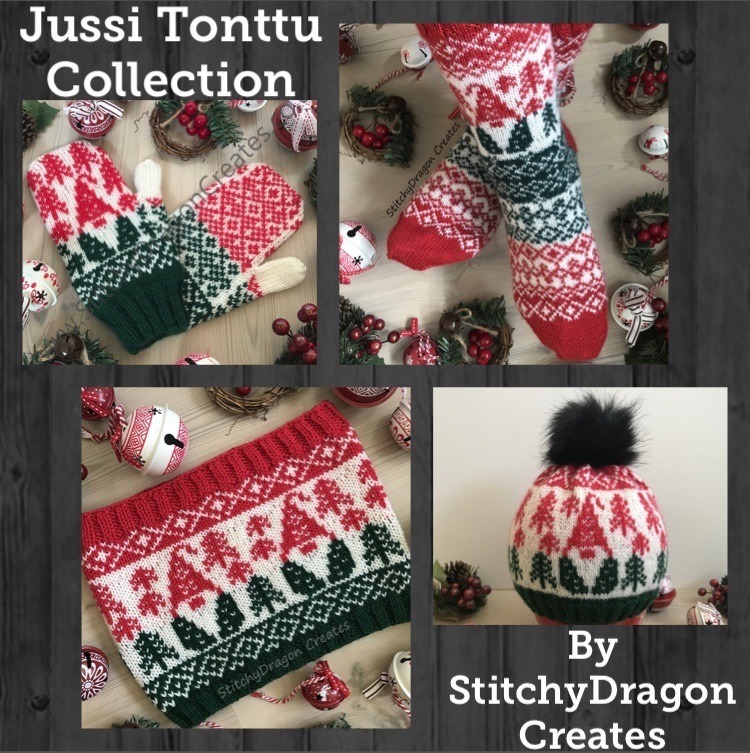
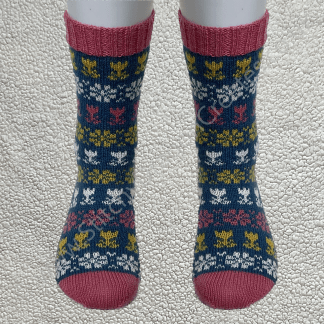
How to Wrap and Turn
This is a method for making short rows. A short row is exactly what it sounds like – instead of working your whole row you stop short and only work part of it. This allows you to shape or curve your knitting (for example, heel turns, darts, raising the back of a sweater neck). It works because one part of your knitting ends up having more rows in it than the rest of your work. In order to avoid a hole where you stop and turn your work you can either work a “double stitch” (see my Double Stitch tutorial) or a “wrap and turn”.
In patterns wrap and turn is usually abbreviated “w&t” and your pattern might say something like this:
K 12, w&t
This means you knit 12 sts as usual, wrap the next stitch (the 13th), and turn your work.

Wrap and turn:
 Step 1
Insert RH needle as if to purl and slip st to RH needle.
 Step 2
Bring working yarn to front between needles.
 Step 3
Return st to LH needle without twisting.
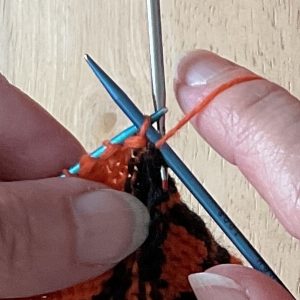 Step 4
Turn your work. Pull working yarn firmly (to choke the st), with yarn in front you are ready to purl the next st.
On a purl row things are slightly different. The stitch is slipped in the same way as before but your working yarn is already at the front, so on Step 2 you take the working yarn to the back between the needles. When you turn your work your yarn is in back ready for you to knit the next st.
PICKING UP WRAPS
When you have finished working your short rows you will need to pick up your wraps or else they will be visible on the right side of your work as little bars across the neck of your stitches.
 Insert RH needle bottom to top front to back into wrap and through st above. Knit the wrap and st together.
 Alternatively, insert RH needle through wrap as before, slip st above as if to knit.
 Now slip both sts back to LH needle and knit through back loops.
On a purl row insert RH needle through back of wrap and lift onto LH needle.
Purl wrap and st together.
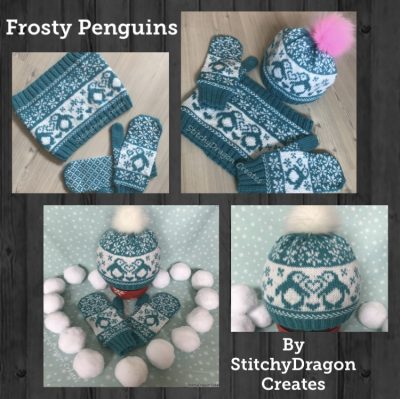
Copyright © 2023 StitchyDragonCreates